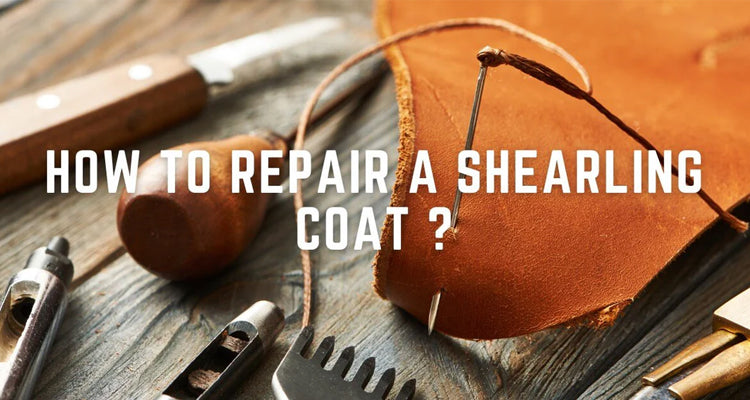
How to Repair a Shearling Coat
Shearling coats are known for their luxurious feel, warmth, and timeless appeal. However, like any high-quality leather product, they can wear out over time due to constant use. Instead of discarding your favorite shearling coat, you can repair it yourself with a few simple steps. This guide will walk you through the entire process of repairing a shearling coat, whether it's an aviator shearling jacket history piece or a modern men airforce shearling leather jacket.
How Do I Repair a Sheepskin Coat? What Are the Steps That I Need to Follow?
Step 01: Identify the Problem
Before starting any repair, carefully inspect your shearling coat. Check for tears, scuffs, worn-out patches, loose stitches, or fading. Identifying the issue helps determine the right repair method, whether it's for a spikey jacket women collection or a classic airforce shearling jacket.
Step 02: Gather the Required Materials
To ensure a successful repair, gather the following materials:
-
Leather adhesive
-
Leather patch (if needed)
-
Sewing kit with heavy-duty thread
-
Fine sandpaper (for surface smoothing)
-
Leather conditioner
-
Clean cloth
-
Shearling-specific dye (if color restoration is needed)
Step 03: Clean the Coat Before Repairing
Dirt and oils can interfere with the repair process, so cleaning your shearling coat is crucial. Use a damp cloth to wipe the leather side and a soft brush for the shearling side. Avoid excessive moisture to prevent damage.
Step 04: Patch Any Tear or Hole
For minor cuts, apply a leather adhesive and press the edges together. If the tear is too large, cut a leather patch slightly bigger than the damaged area. This technique works well for various shearling products, from shearling vest women to full-length coats.
Step 05: Stitch the Patch
Using a strong needle and heavy-duty thread, stitch the patch onto the torn section. Use small, even stitches to ensure durability. If the damage is along a seam, reinforce it with double stitching.
Step 06: Add Finishing Touches
Once the patch is secure, smooth the edges with fine sandpaper for a seamless look. Apply a leather conditioner to keep the material soft and hydrated. If necessary, use a color-matching dye to blend the patch with the rest of the coat.
FAQs: How to Repair a Shearling Coat
Can I Repair a Shearling Coat Myself?
Yes! With the right tools and techniques, minor repairs like small tears or scuffs can be done at home. However, for major damages, professional restoration is recommended.
How Do I Restore the Color of My Shearling Coat?
Use a shearling-specific dye that matches the original color. Apply the dye evenly and let it dry before conditioning the leather.
Can I Fix Worn-Out Shearling?
If the shearling side looks matted or worn out, gently brush it with a soft-bristle brush. For severe wear, a professional shearling cleaner may be necessary.
How Long Do Leather Jackets Last?
With proper care and maintenance, a shearling coat can last decades. Investing in routine cleaning and occasional repairs can significantly extend its lifespan.
Final Thoughts
Repairing a shearling coat is a cost-effective way to preserve its elegance and functionality. Whether it's a vintage history of shearling jackets piece or a contemporary men airforce shearling leather jacket, proper maintenance ensures longevity. Follow these steps, and you'll enjoy your stylish and cozy shearling coat for years to come.
You May Also Like:⤵
- Caring for Your Shearling Jacket: Cleaning and Storage Tips
- The Ultimate Guide to Leather Bomber Jackets: Style, Comfort, and Quality
- What to Wear with a Leather Jacket in 2025?
- History of Sheepskin Bomber Jackets

